|
| Seascape Collection by MosaicSmith |
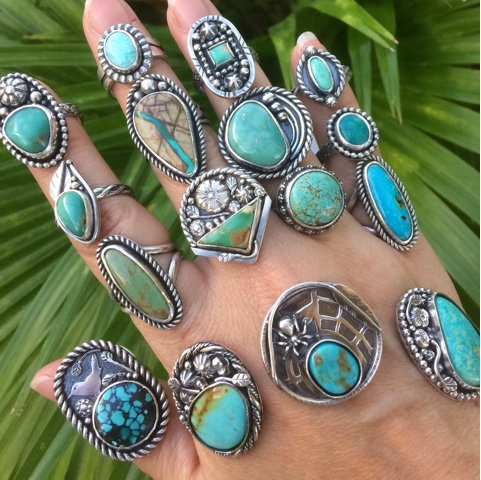
New work in my Seascape Collection now available on my website and in my Etsy MosaicSmith shop. All pieces are original designs, hand fabricated from fine and sterling silver, by artisan Linda Pieroth Smith. All pieces are inspired by the sea, many by rock jetties. The Kroit Boulder Opal ring (center top) has green green flashy bits and touches of 14K gold in the rock jetty.